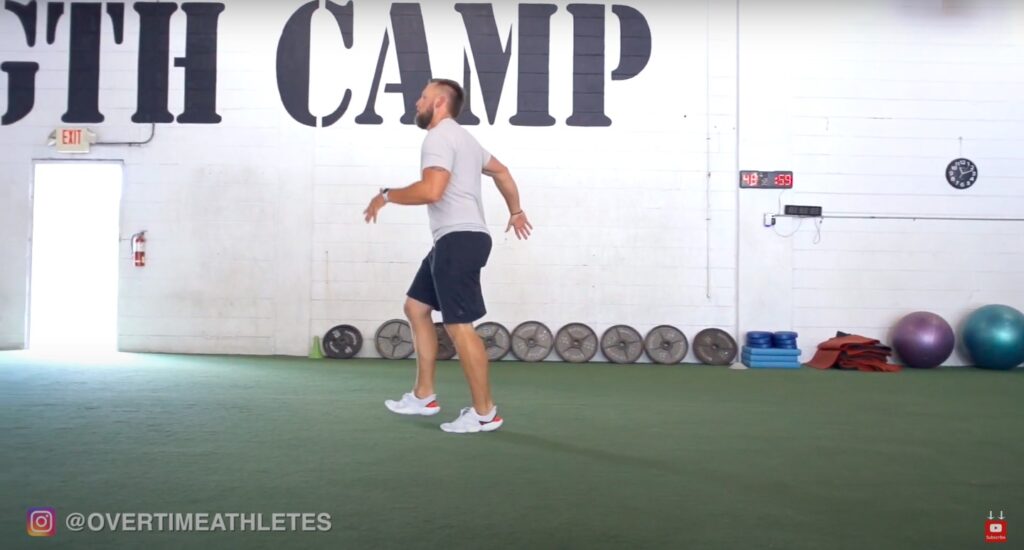
Today I’m following up on sprint mechanics for maximum speed and sharing the exact drills I use to train top professional athletes.
Previously I shared the general ways I approach sprint mechanics: force production, backside mechanics and frontside mechanics.
Force production is where we learn to create more force behind each foot strike and stride. Back-side mechanics is where we focus on any leg movement that happens on the back half of the body. Front-side mechanics refer to any leg movement happening on the front half of the body.
If you guys have followed me for a while, you’ll know about some of the work I do with my athletes for sprint mechanics.
The key to making sure these drills spark change is limiting the variation.
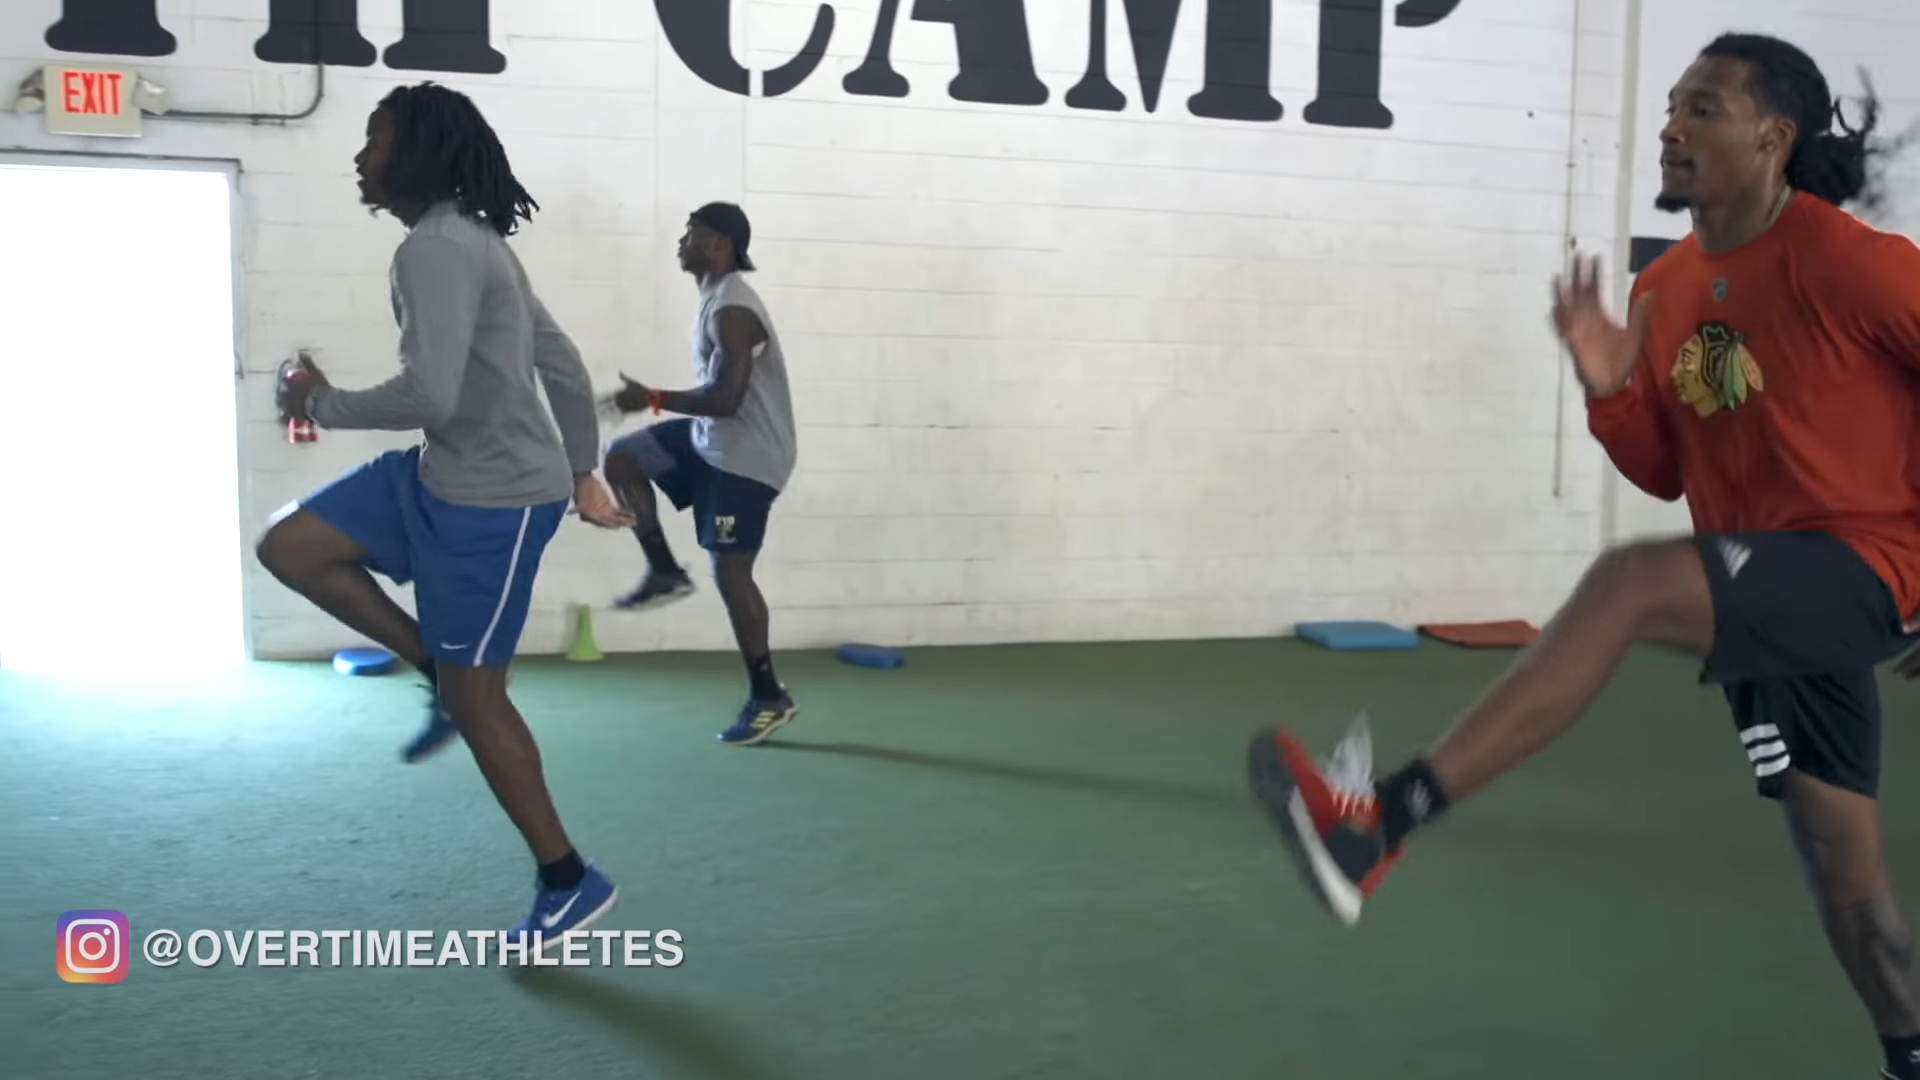
When working on developing your top speed, consistency is key. We repeat the same drills over and over to instill a new motor pattern.
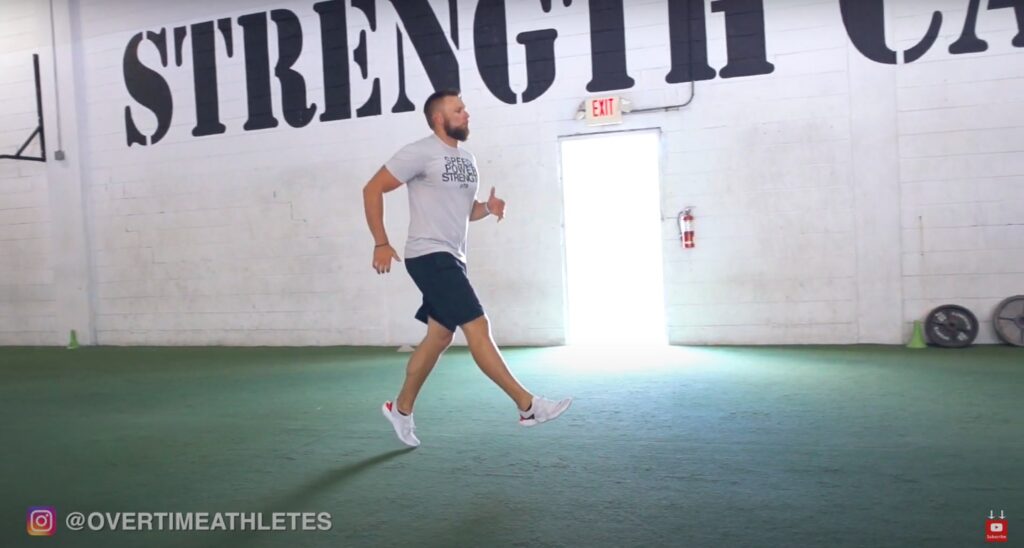
When we’re able to do these drills like second nature, you can now perform it at maximum speed on the field.
Sometimes I’ll even have my athletes do the drill, then go back and run it through at top speed. The point here is to get you performing the drill properly and then able to translate it over to a game-time setting.
Here’s a few of the best drills you can begin integrating into your training to see serious speed results:
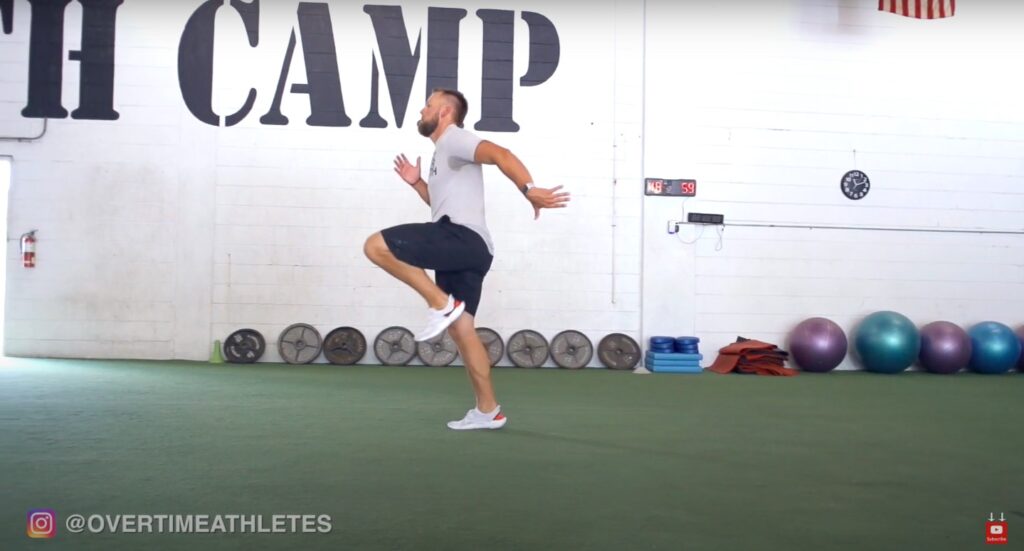
Frontside Mechanics
- A-Skips
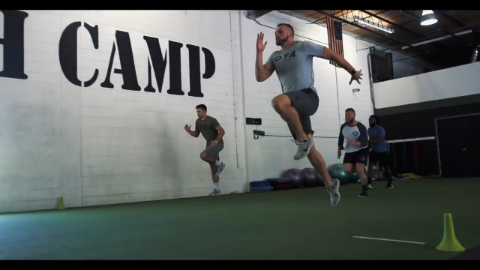
A-Skips are really great at working on horizontal power or increasing forward force production.
These are great to train the cross-extensor reflex. This is a reflex in the body which allows you to quickly lift the foot off the ground. It teaches athletes to work on having a powerful “pop” to their step.
A lot of times when guys are first starting out, you’ll see that as the thigh draws upwards, the ankle relaxes and the toes point towards the ground.
As you initiate the A-Skip, you should be in triple-flexion: where the hip, knee, and ankle all remain flexed.
Continue to work on this drill until you’re doing it routinely with triple flexion.
2. B-Skips

The reason I like using this drill because it teaches an athlete to extend the lower limb at its highest point.
A lot of time you’ll notice that as the hip comes into flexion and the hamstring is still flexed, guys will try to extend at the knee too early. Working on B-Skips teaches you to “cycle” the foot through.
This releases the hamstring and brings the foot right under the hips, and ready for the next stride.
I make sure to use the word “release” as a cue rather than saying “extend.”
This is essential because you want to avoid overreaching the leg in an effort to have a longer stride. Reaching is what happens as guys get lazy.
To release, means you simply allow the hamstring to relax so that the heel comes back to your butt and the knee can drive out front.
Force Production
- Straight Leg Bounds
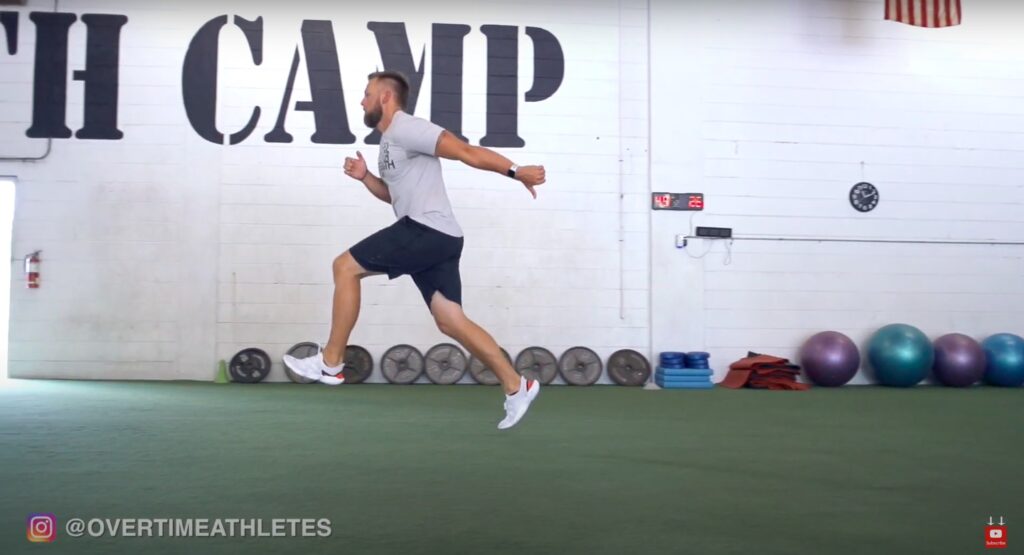
Straight leg bounds are one of my absolute favorite drills when it comes to teaching guys about force production.
The key here is to maintain ankle flexion throughout the drill so that as you reach the leg forward and strike the ground, each step acts to “pull” you forward.
This drill is powered by extension at the glutes. To help improve this pattern, be sure to strength train with exercises like squat and RDL.
Backside Mechanics
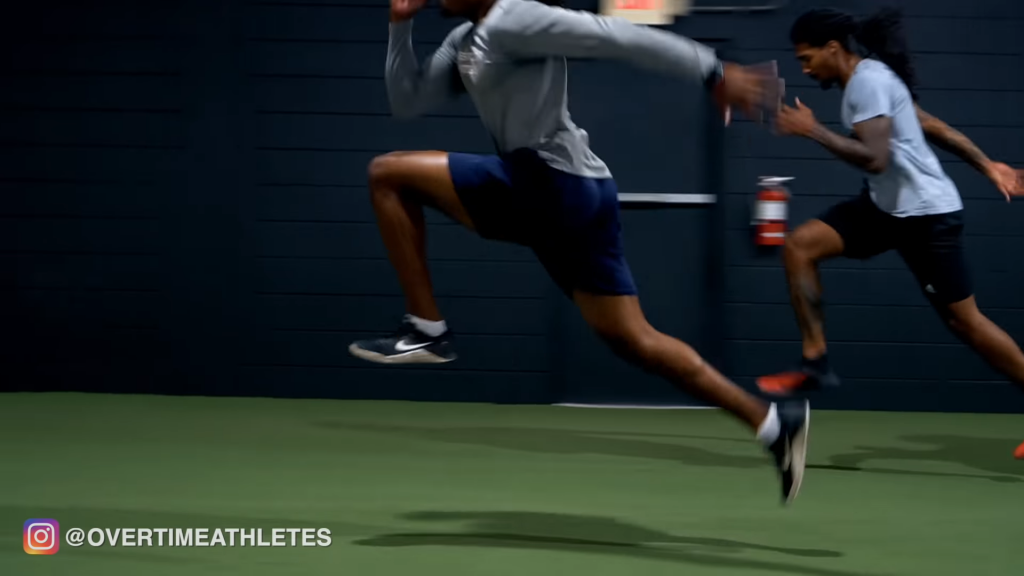
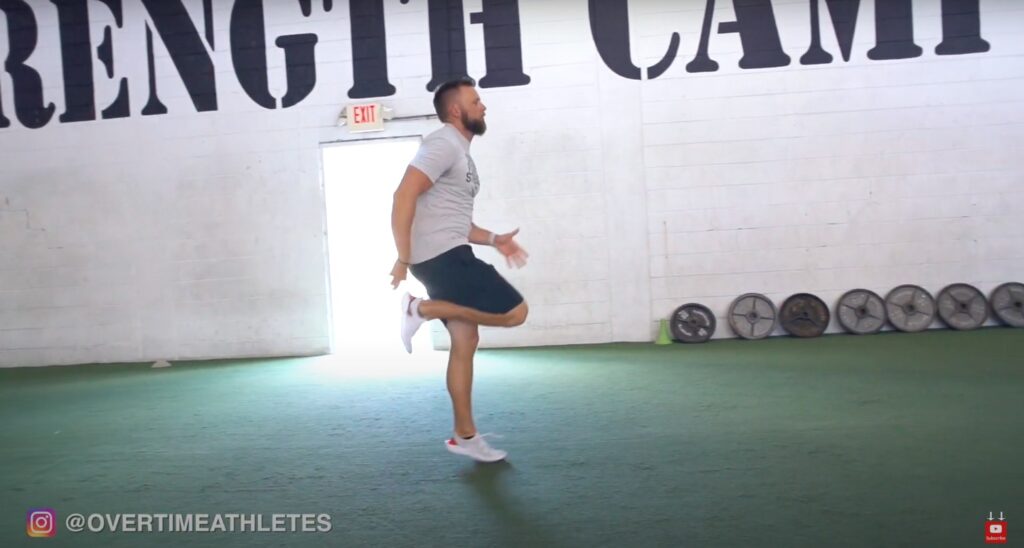
1. Single Leg – High Knee
Finally, lets get to working on back-side mechanics. Here, I really focus on the single leg high knee drill.
This specifically works on the triple flexion of the hip, knee and ankle.
My goal here is to teach the athlete to get their heel as close to the butt as possible, beginning with the proper initiation of pulling the toes to the top of the shoe and flexing at the ankle.
As this happens the knee drives forward which brings the heel up to the butt. This allows you to step the foot through and strike the ground.
For any athletes that run with a long, back-reaching stride: this is the drill for you. It will help you work on shortening the residual phase and increase a tight stride cycle.
2. Single-Leg Cycling
Finally if it’s appropriate for the athlete, I may progress an athlete to single leg cycling where the focus is on pulling through a full stride cycle.
The main focus on this last drill is to initiate the “pulling down” movement of the leg, which starts with the glutes.
By working through each side separately, you’ll develop more efficiency and balance.
Sprint Mechanics Drills for Maximum Speed
These drills are my bread and butter for speed.
Like I said before, I won’t typically vary these drills so my athletes can slowly grow into their speed. Occasionally I’ll add in some other things depending on the athlete and their mechanics.
With the guys I see regularly, we’ll go through this series of drills least once a week to work on top speed.
By adding in just a few drills to your training and keeping it consistent, you can begin working on your maximum velocity mechanics and top speed right now.
However…
A couple drills a week will only get you so far.
You need a full system if you really want to get faster.
You can find that in Athletic Speed System.
This program is guaranteed to make you faster in 30 days or less, or you receive your money back.
In other words, if Athletic Speed System doesn’t work for you, there’s no risk.
Change your game.