
THE FULL GUIDE TO AGILITY TRAINING FOR ATHLETES
Why don’t the best performers in the weight room always perform the best on the field?
The short answer: Agility.
Agility is, in most cases, that missing link between great performances in the weight room and on the field.
Agility training encompasses many physical attributes, including change of direction, reaction training, fluidity, quickness, lateral speed, and more.
However, most athletes stick to ladders and cones for agility training.
These tools have their place, but you’re leaving out a huge piece of what will make you successful on the field if the majority of your agility training is made up of solely these tools.
I’ve seen many athletes make this mistake time and time again.
It blocks them from reaching their athletic potential.
And that’s why I’m going to set the record straight on agility training today… By sharing a full guide to Agility Training for Athletes.
This guide will include the practical theory of how to train agility… As well as drills and exercises for each “phase” of agility training for athletes.
Let’s get into the full guide of agility training for athletes:
THE THREE PHASES OF AGILITY TRAINING FOR ATHLETES
Most coaches out there are looking for the newest, sexiest, most advanced exercises to throw at their athletes.
Over the years, I’ve learned that athletes receive better results when you break training down to its most simple form. Then, you lead them through progressions.
It doesn’t matter the experience level of the athlete… Beginner or advanced… This approach always delivered results.
And this applies to agility training maybe more so than anything else.
Because agility training is a change of direction movement with a reaction component. That means, in order to excel at agility, you must first become proficient at predetermined change of direction movement.
Then, you can add in the cognitive reaction component.
And finally, you perform sports-specific agility drills that serve as low-level skills training.
But, what are the details of each phase? And more, how do you program for them?
Below, we’ll dig into each phase of agility training for athletes a little bit deeper.
PHASE ONE: PREDETERMINED CHANGE OF DIRECTION
The most important factor of agility training is assuring quality movement… Especially in the areas of inversion and eversion of the ankle and abduction and adduction of the hip.
These two movement patterns will serve as the foundation of your ability to change directions, juke defenders, and be more agile.
Not only that, but enhancing these movement qualities will not only make you quicker laterally… Enhancing these movements can also prevent injury.
The way I enhance these movement qualities is simple: I isolate each quality, then elevate it.
I’ll start with a low-level agility drill, such as a lateral line hop, to enhance inversion/eversion in the ankle.
Then I’ll progress it to a single leg of some sort, and keep elevating from there.
In the case of the hip, I may start with a longer length lateral shuffle. Then, I’ll shorten the distance to force the athlete to work on acceleration and deceleration. Finally, I’ll add in a reaction component.
That’s the CliffNotes of how this first phase works.
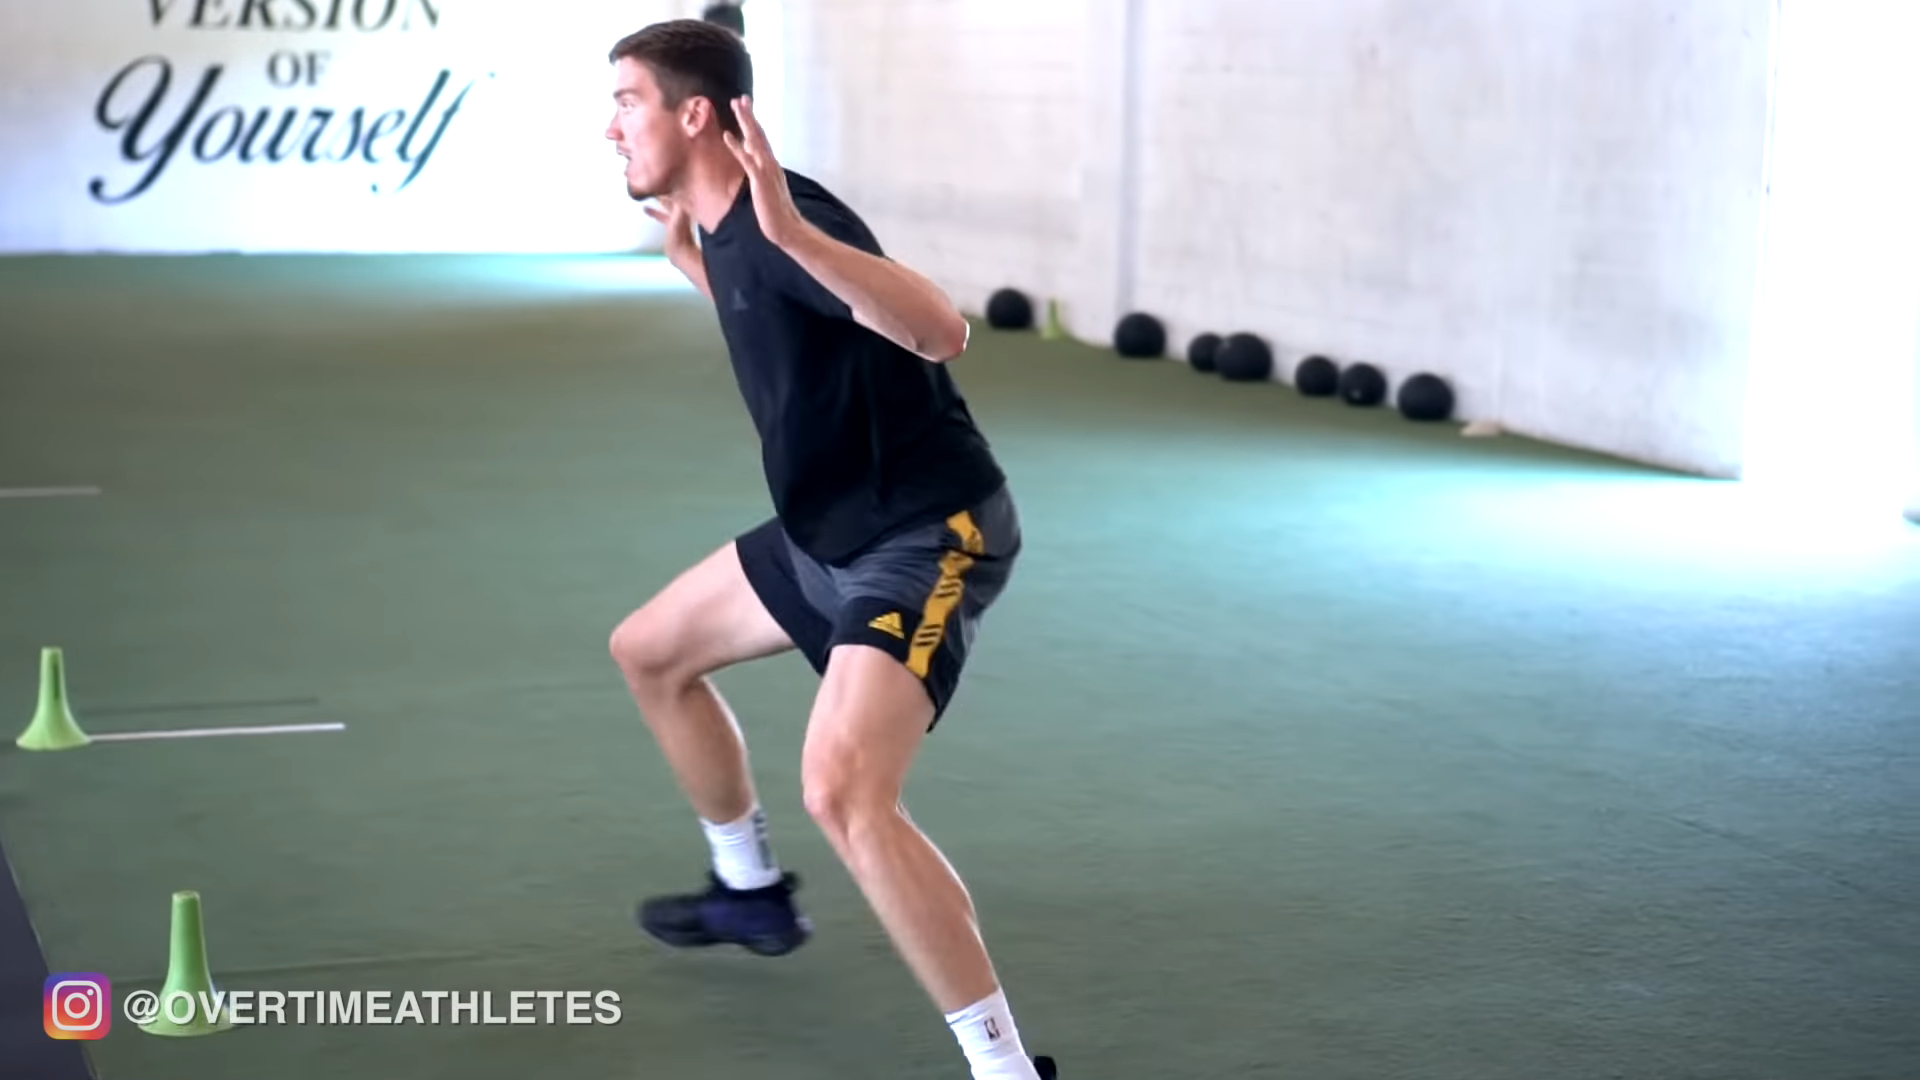
Speaking of acceleration and deceleration, they are also critical components of phase one of agility training for athletes.
Enhancing acceleration and deceleration will allow for quicker cuts, and more rapid changes of direction which will be key for the agility training you’ll be doing later down the line.
So, what are some movements that you can use for phase one of your agility training?
Let’s find out.
5 AGILITY DRILLS FOR PHASE ONE OF AGILITY TRAINING
Before I share these, it’s important to remember that these drills must be progressed for you to see the best results:
Lateral Line Hops
- Find a line and stand next to it
- Start with your feet hip width and knees slightly bent
- Jump over the line as quickly as possible without moving forwards or backwards
- Get as many jumps as possible in the duration of time
Lateral Pogo’s
- Begin with your feet hip width
- Push through the ankle and get up as high as you can
- Push out laterally and progress down the turf
- Land soft as possible after every jump
Lateral Bounds
- Begin with your knees bent facing an outside wall
- Push off the rear leg to perform a lateral jump
- Land softly, and gather yourself to progress into your next jump
Lateral Short Shuffle
- Begin with your feet just outside hip width
- Push off the rear leg as hard as possible
- Push as hard as you can until you reach your destination without letting the feet come within hip width
Short Shuttle Run
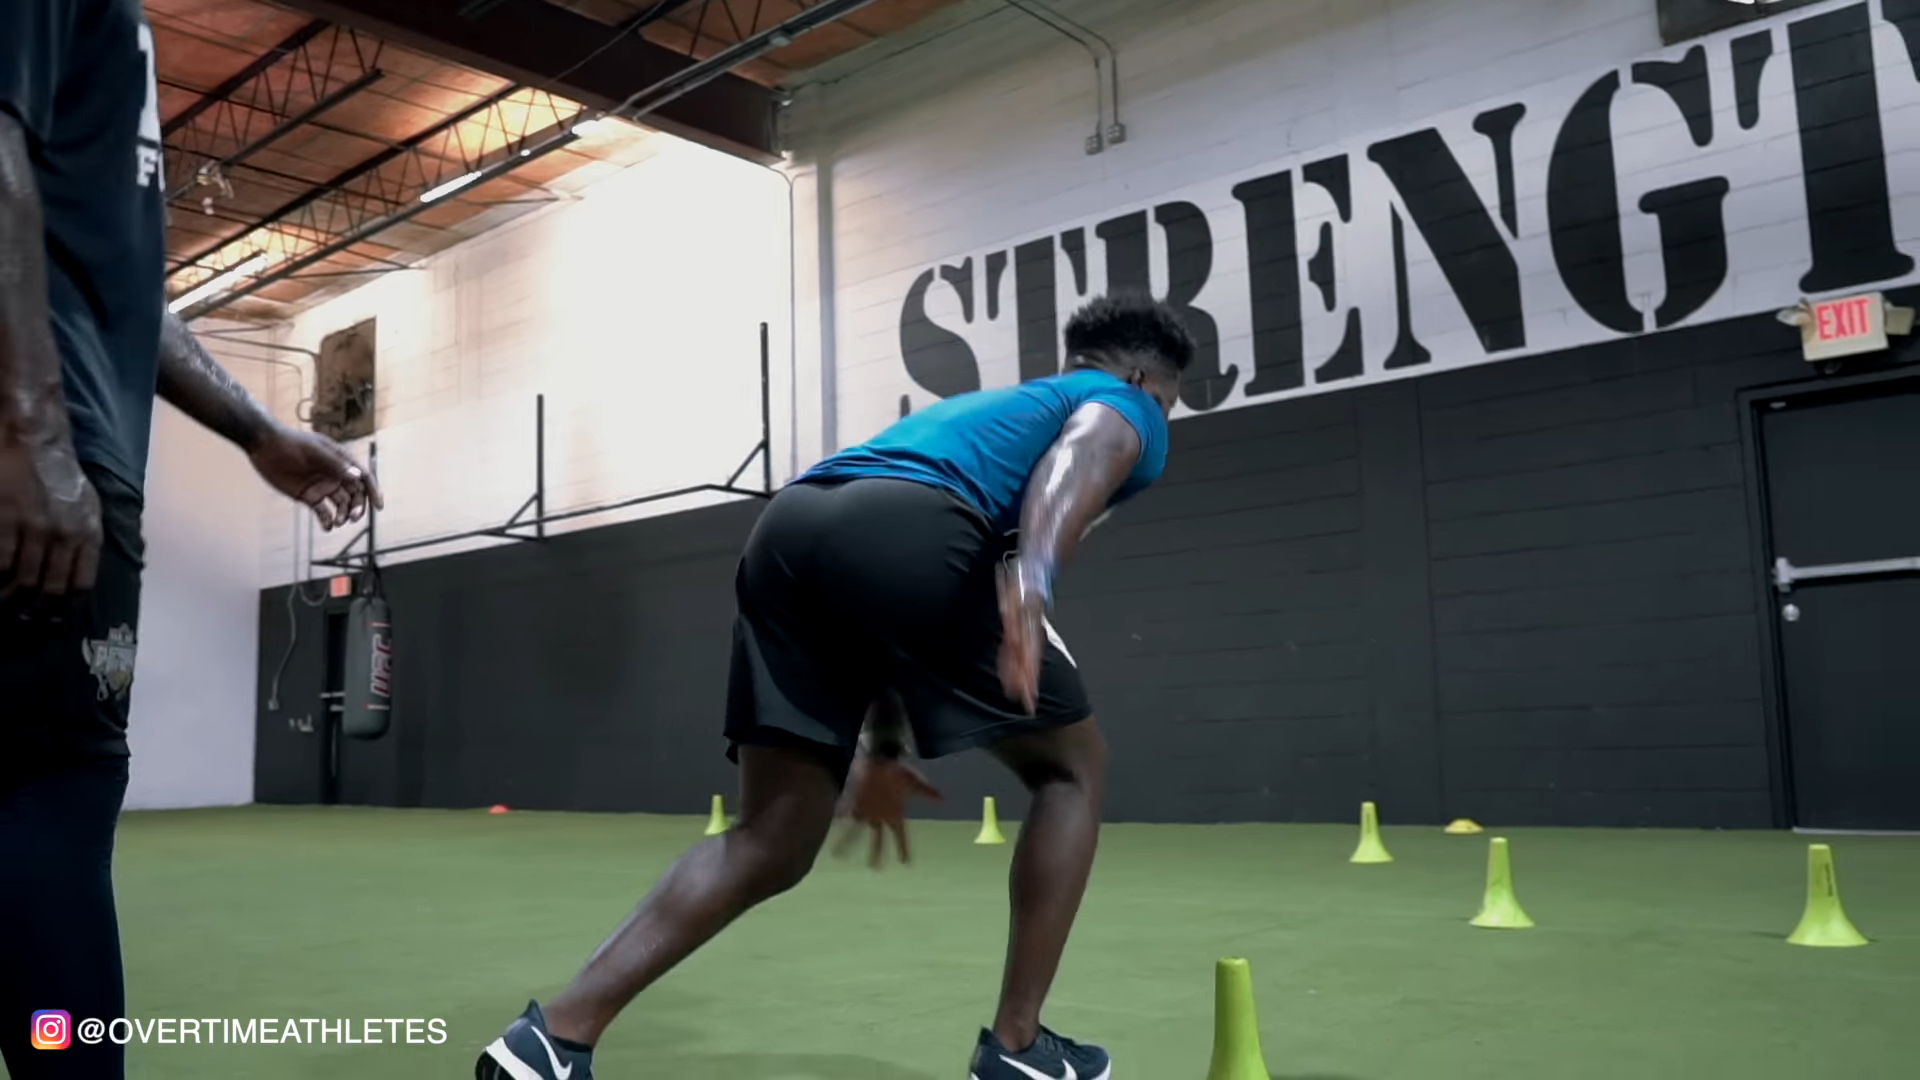
- Begin with three cones spread 2.5 yards apart
- Sprint to the middle cone, touch with your right hand, flip the hips and return to the original cone
- Touch the original cone with your right hand, flip the hips and sprint to the far cone
- Flip the hips one final time and sprint through the finish
PHASE TWO: CHANGE OF DIRECTION WITH A COGNITIVE ELEMENT
Now, we’re moving into true agility training. As I said above, true agility training is change of direction with a reaction component.
That’s what this phase is about.
If you’ve reached this phase, you should have quality movement. You should be at a level where you’re moving safely and efficiently.
Now, it’s time to add a reaction component to link your cognitive abilities with your movement.
These reaction components will come in two forms:
- Visual
- Auditory
Visual reaction comments involve reacting to something visually. A coach could point in a different direction, or he could drop something, or you could react off an opponent.
Auditory reaction components involve reacting to cues or instructions. A coach could yell “left”, “right”, or some other instruction.
Auditory cues are more difficult to react to, and they should serve as a further progression of your agility training.
Now, what are some movements you can use for phase two of your agility training for athletes?
Let’s find out.
5 AGILITY DRILLS FOR PHASE TWO OF AGILITY TRAINING
Cone Hops w/ Reaction
- Set up four cones about a foot apart from each other
- Start with your foot in line with one of the end cones
- Bend your knee slightly
- Jump down the cones
- As you do this, have a partner throw tennis balls for you to catch
Lateral Shuffle w/ Reaction
- Set up two cones about 7 yards apart
- Have a partner point which direction for you to move
- For 10 seconds react to his instructions
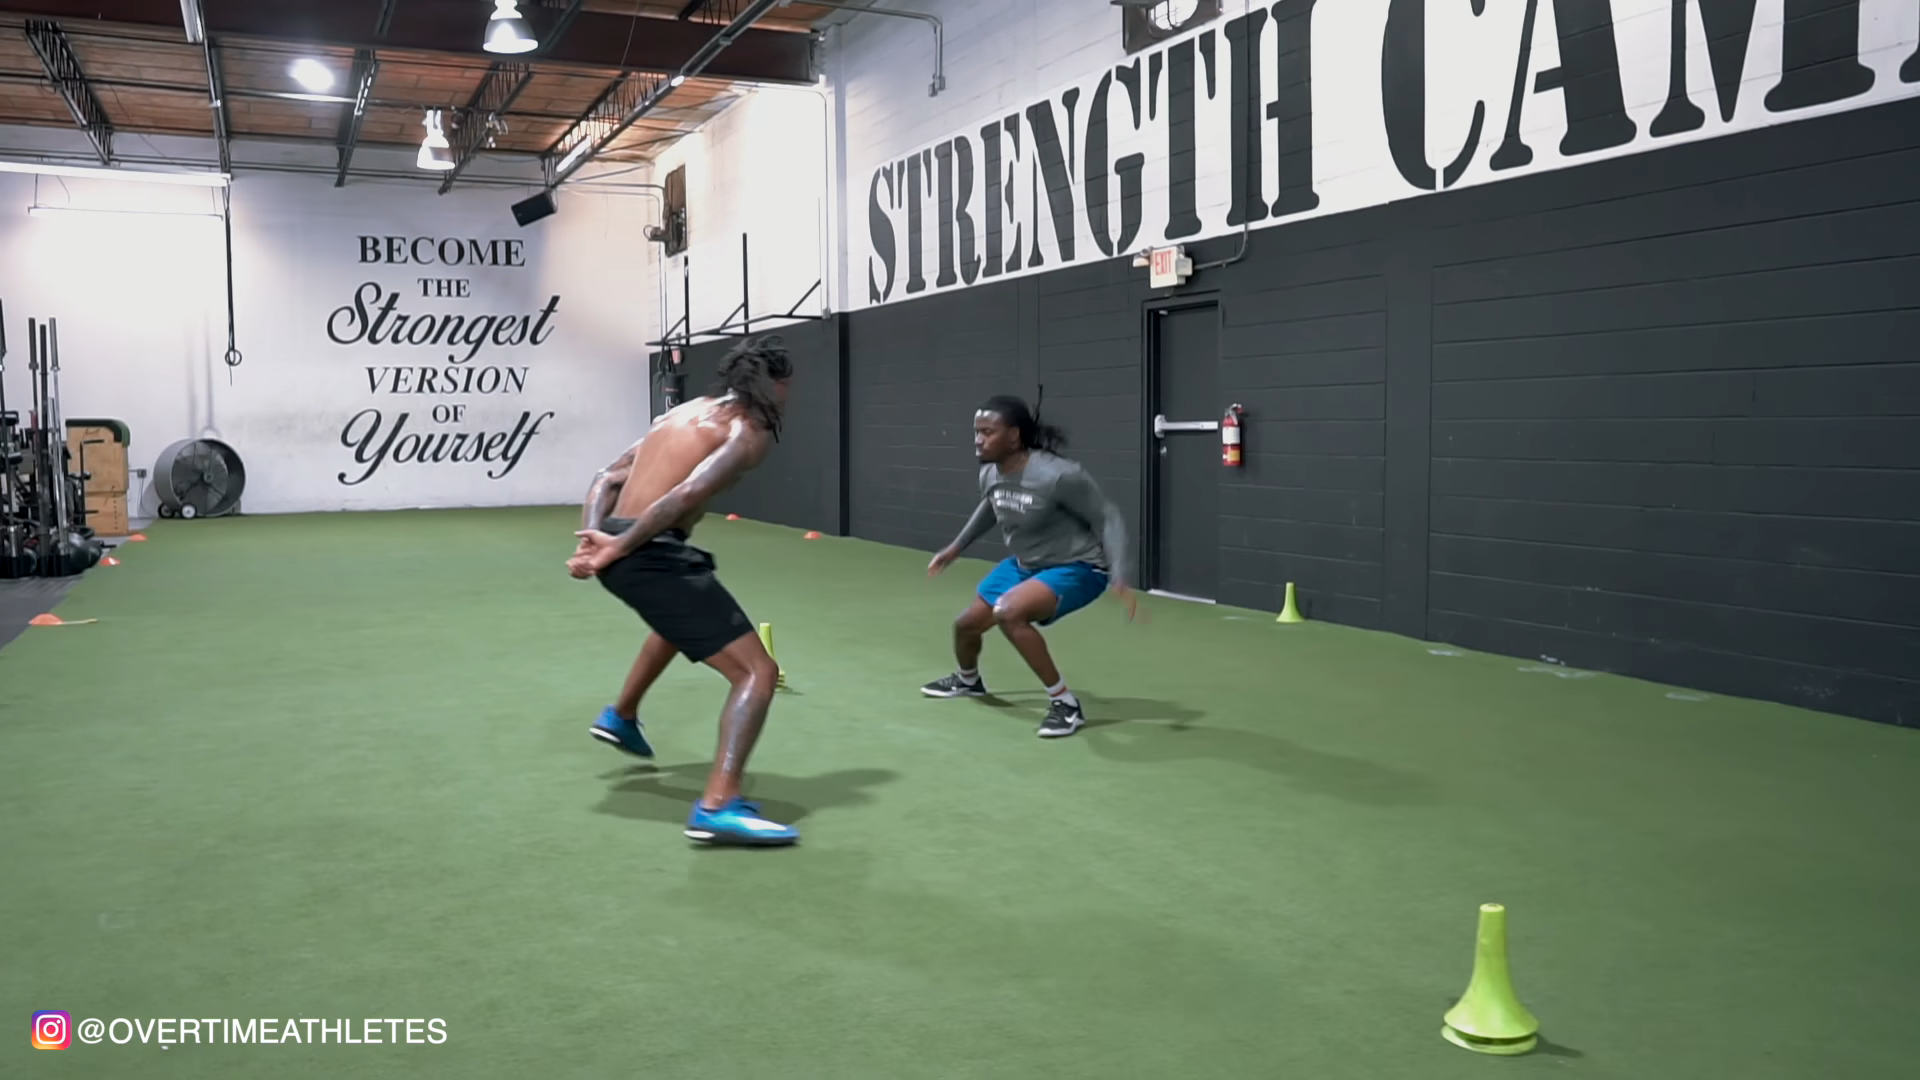
Mirror Drill
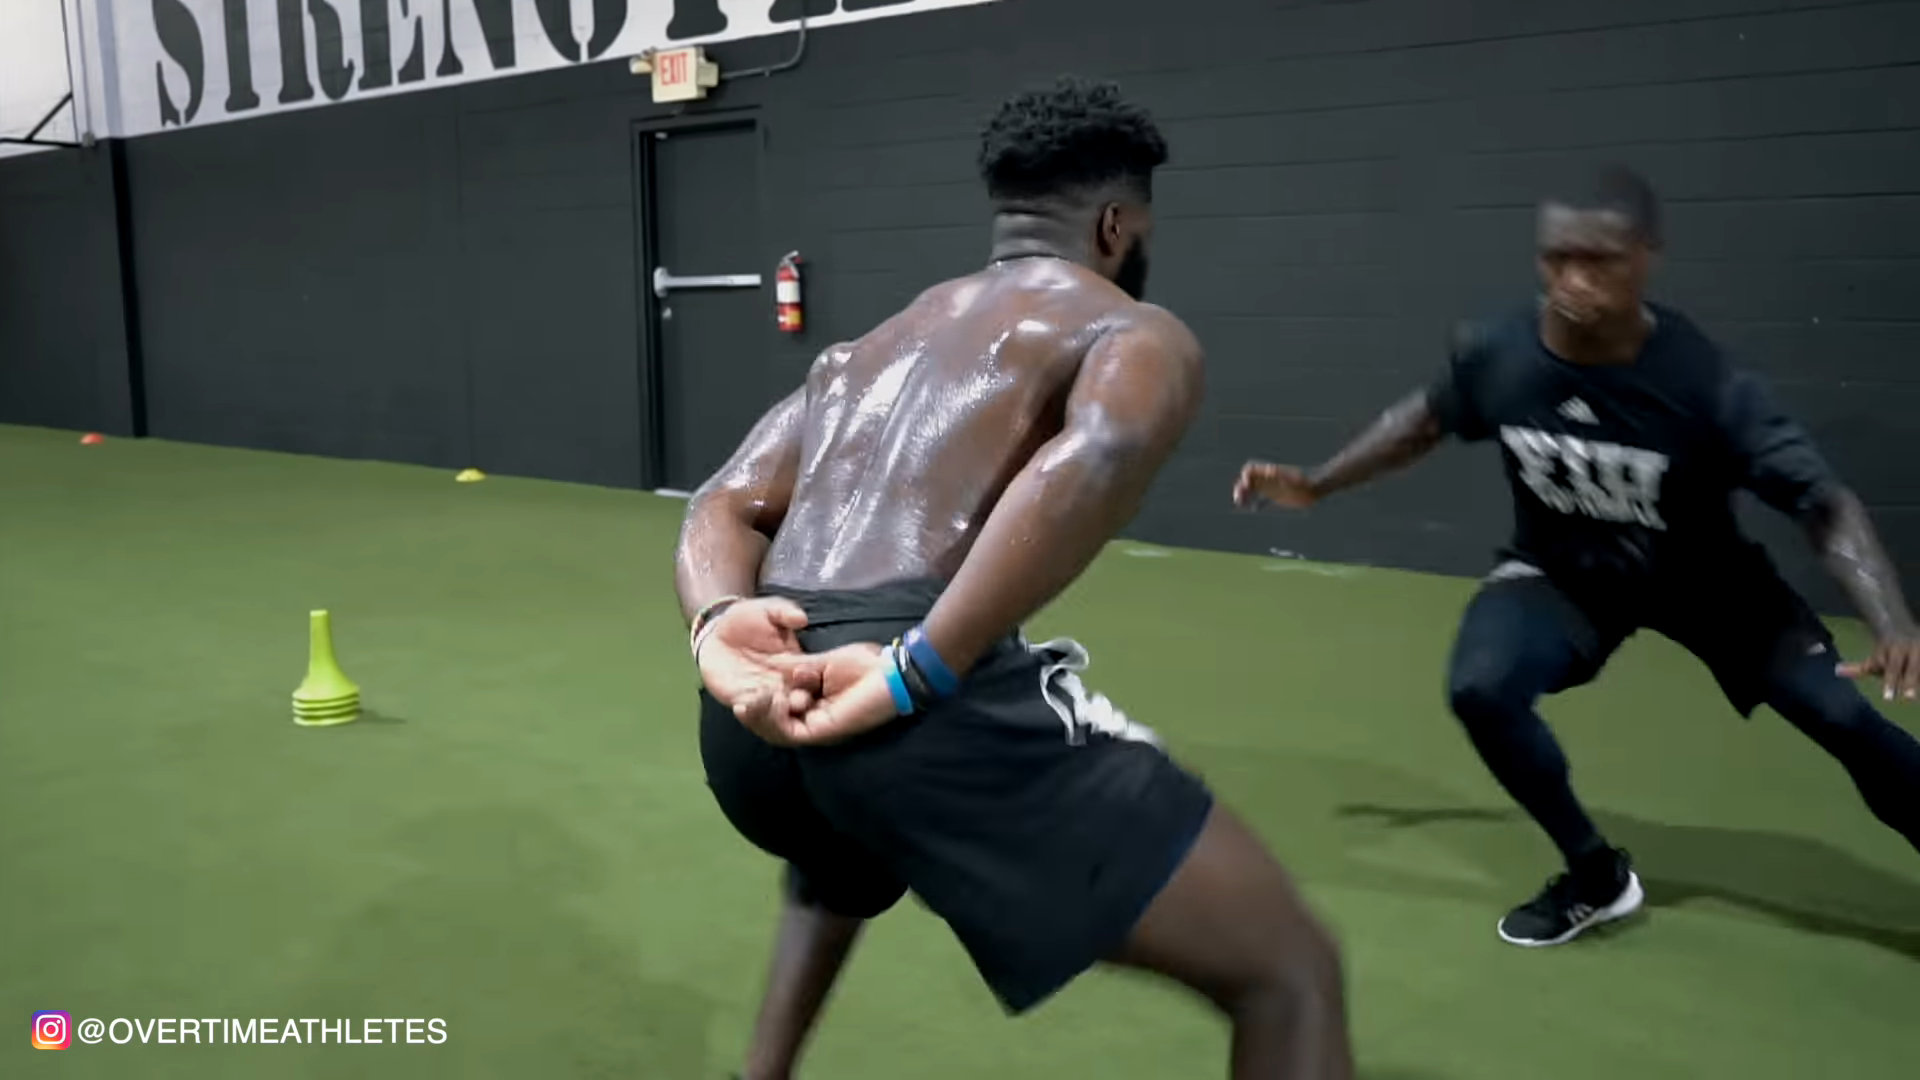
- Set up two cones five yards apart
- Start with your back turned to your partner
- On “Go” turn to face him and try and keep your belly button lined up with his as you move laterally
Ball Drops
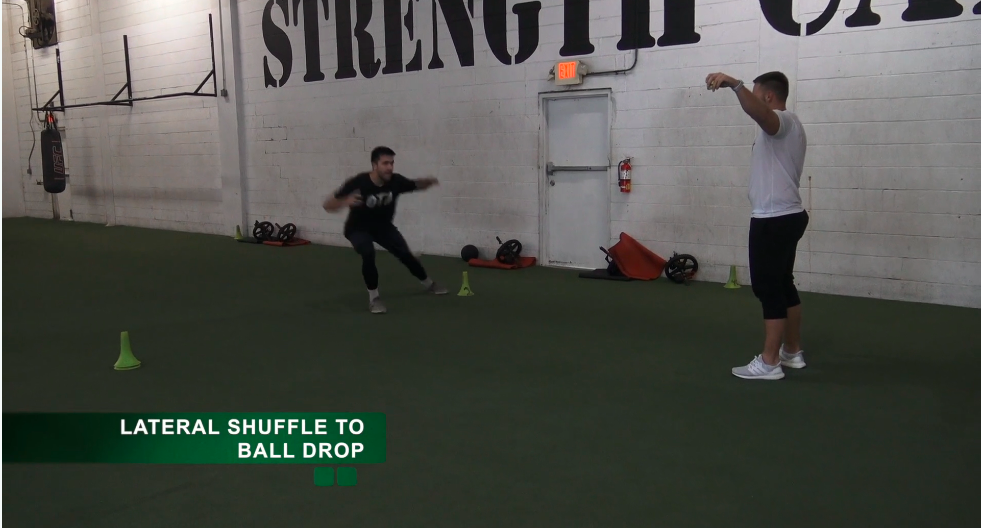
- Set up two cones three yards apart
- Shuffle from cone to cone as your partner stands with a ball in hand
- React as he drops the ball
- Sprint to it and try to catch it before the second bounce
Jump Cut Drill w/ Reaction
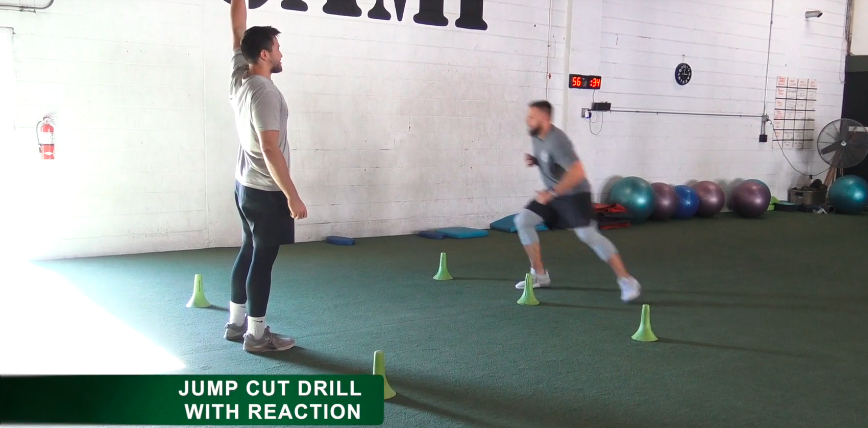
- Set up cones in a U Shape
- As you sprint to the first cone, have a partner point which direction to go
- Plant your foot and sprint whichever way your partner points
PHASE THREE: SPORTS-SPECIFIC
Now, you’ve enhanced your movement quality. You’ve increased your reaction time.
The only thing left to do is translate all of that to the field.
That’s where sport-specific agility training comes in.
Sport-specific agility training serves as a kind of low-level skills training. Usually, the strength and conditioning coach is not in charge of skills training. However, in this case, we’re working on movement quality and cognitive training, so it is warranted.
The difference between this phase and phase two is that the athlete is performing movements that are more specific to his sport. He is also reacting to stimuli that is more specific to his sport.
For example, I’ll have my baseball athletes react off of me throwing a pitch. I’ll also throw tennis balls in their direction and have them ground them on the move.
With my football guys, I’ll have them cover each other and react off me acting as the quarterback.
The key here is to not get too fancy. We don’t want to jump into the realm of advanced skills work.
We simply want to get the athlete used to reacting to certain stimulus.
Your Special Invitation to Game Speed
I’ve just laid out the full guide to agility training for athletes.
If you want to see it in practice, I invite you to check out GAME SPEED, my new agility training system.

It uses all the methods I laid out above and gives you the tools to customize the agility training for your sport.
If you decide to take your agility training to the next level with GAME SPEED, you’ll receive two exclusive blog-reader bonuses.
But, only if you sign up at the link below.